[Part 1] Hosting a Hugo Static Site on AWS
![[Part 1] Hosting a Hugo Static Site on AWS](/images/post/4/hugo-wide.jpg)
Hugo is an amazingly simple static site generator. It’s been gaining increasing popularity over the last few years and it’s my chosen framework for my website.
Let’s see how I host JeremyRitchie.com.
Intro
This is part one of a two part series about hosting Hugo on AWS. I’ll be using the AWS CLI (where sensible) in this series, just to mix things up a bit.
Today i’ll cover creating a S3 bucket, deploying Hugo to S3, using Cloudfront as the CDN and using a custom domain.
Next week i’ll cover CloudFront Functions and Origin Access Control.
Table of contents
- Table of contents
- Requirements
- Quick Setup
- S3 & Hugo Deploy
- CloudFront
- Custom Domain
- SSL Certificate
- CloudFront Custom Domain
- Updating Hugo to Match
- Conclusion
Requirements
Quick Setup
This blog is all about the AWS side of a Hugo Website, so let’s skim over a hugo quickstart and get into the fun AWS bits ASAP.
hugo new site quickstart
cd quickstart
git init
git submodule add https://github.com/theNewDynamic/gohugo-theme-ananke themes/ananke
echo "theme = 'ananke'" >> config.toml
hugo server
Looks like it worked!
New Website
See Add Content section of the quickstart guide to see how to add content to your new site.
Today i’m going to leave it there and move on to the AWS side.
S3 & Hugo Deploy
S3
First we need to create a bucket to host our website.
- Setup AWS CLI (Optional)
aws configure or aws configure sso if AWS SSO is setup on your AWS Organization.
- Create S3 Bucket
aws s3 mb s3://jeremyritchie-demo-hugo
Replace jeremyritchie-demo-hugo with the name you want your bucket to be.
- Enable S3 Static Site
aws s3 website s3://jeremyritchie-demo-hugo --index-document index.html
Hugo Deploy
Add deployment target to config.toml
[[deployment.targets]]
name = "default"
URL = "s3://jeremyritchie-demo-hugo?region=ap-southeast-2"
Now let’s deploy the website to S3!
cd quickstart
hugo
hugo deploy
So let’s test!
http://jeremyritchie-demo-hugo.s3-website-ap-southeast-2.amazonaws.com/
403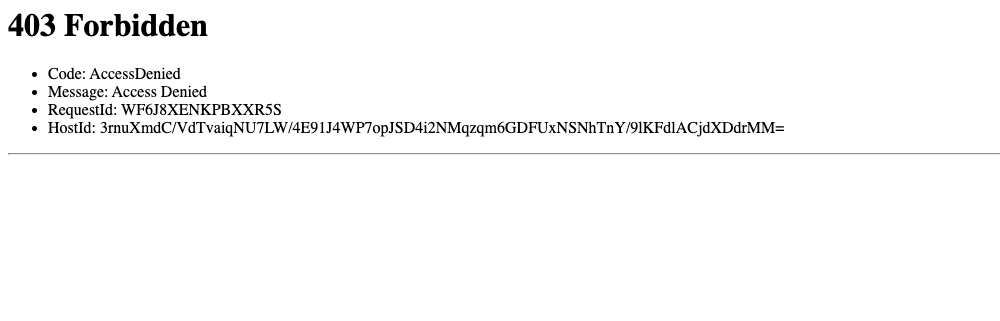
Damn, what’s going on?
S3 Permissions
Our bucket has default permissions. This means the bucket policy is empty, and therefor, is not publicly accessible.
Let’s fix this.
echo '{ "Version": "2012-10-17", "Statement": [ { "Sid": "PublicRead", "Effect": "Allow", "Principal": "*", "Action": [ "s3:GetObject", "s3:GetObjectVersion" ], "Resource": "arn:aws:s3:::jeremyritchie-demo-hugo/*" } ] }' >> policy.json

aws s3api put-bucket-policy --policy file://policy.json --bucket jeremyritchie-demo-hugo
Don’t forget to keep replacing jeremyritchie-demo-hugo with your own bucket name!
Let’s test that same URL again:
http://jeremyritchie-demo-hugo.s3-website-ap-southeast-2.amazonaws.com/
S3 Website
CloudFront
Now you could stop there, you have the website in AWS. But today we’re going to take it a step further and put a CDN in front of it - CloudFront.
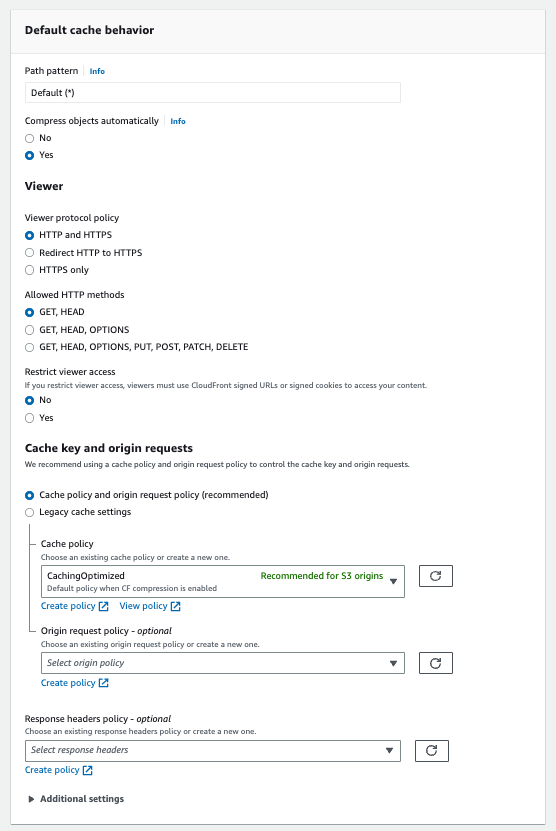
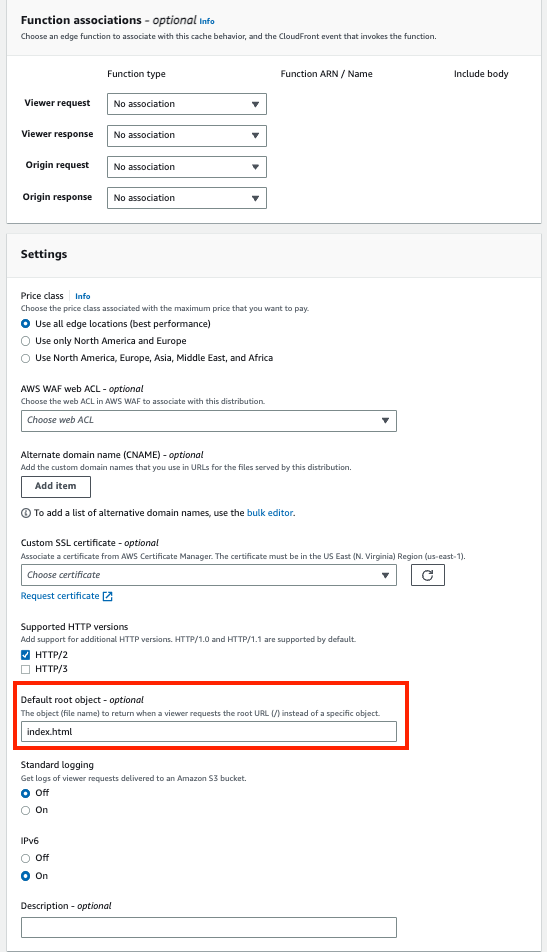
NB: Default root object
Same as S3, we want CloudFront to invisibly redirect website users to the index.html file with they load the root of the website.
We’ll touch on this point more in the next post!
CloudFront Create 1 CloudFront Create 2 CloudFront Create 3 Created Cloudfront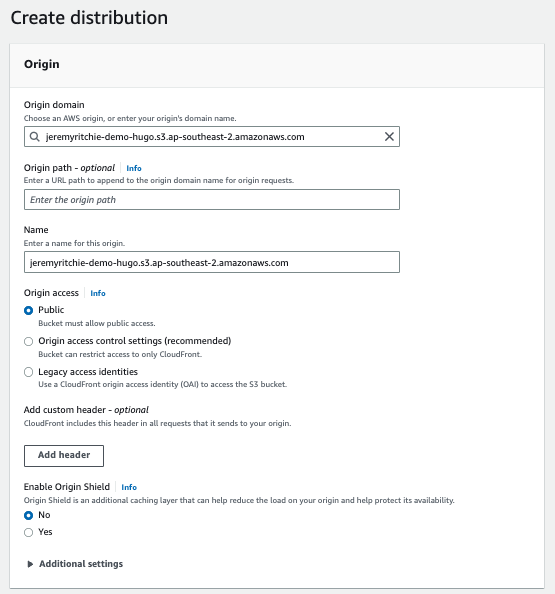
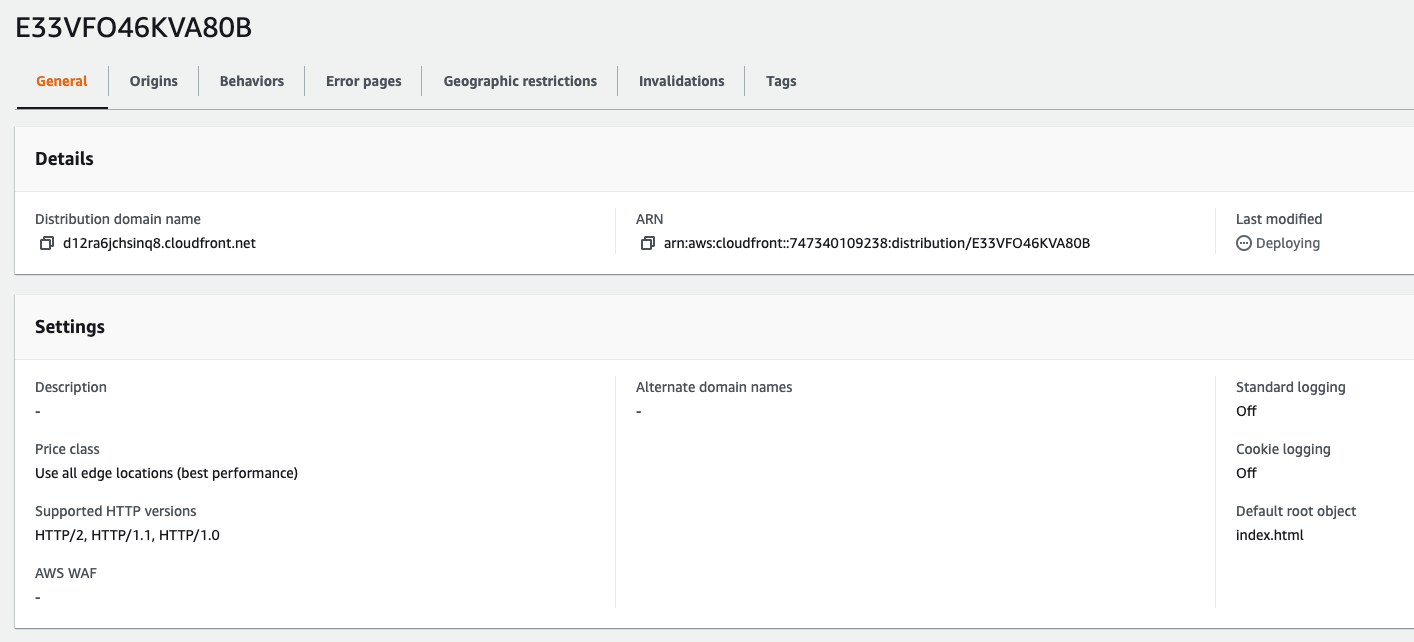 Let’s go have a look at the website now!
https://d12ra6jchsinq8.cloudfront.net
Cloudfront Website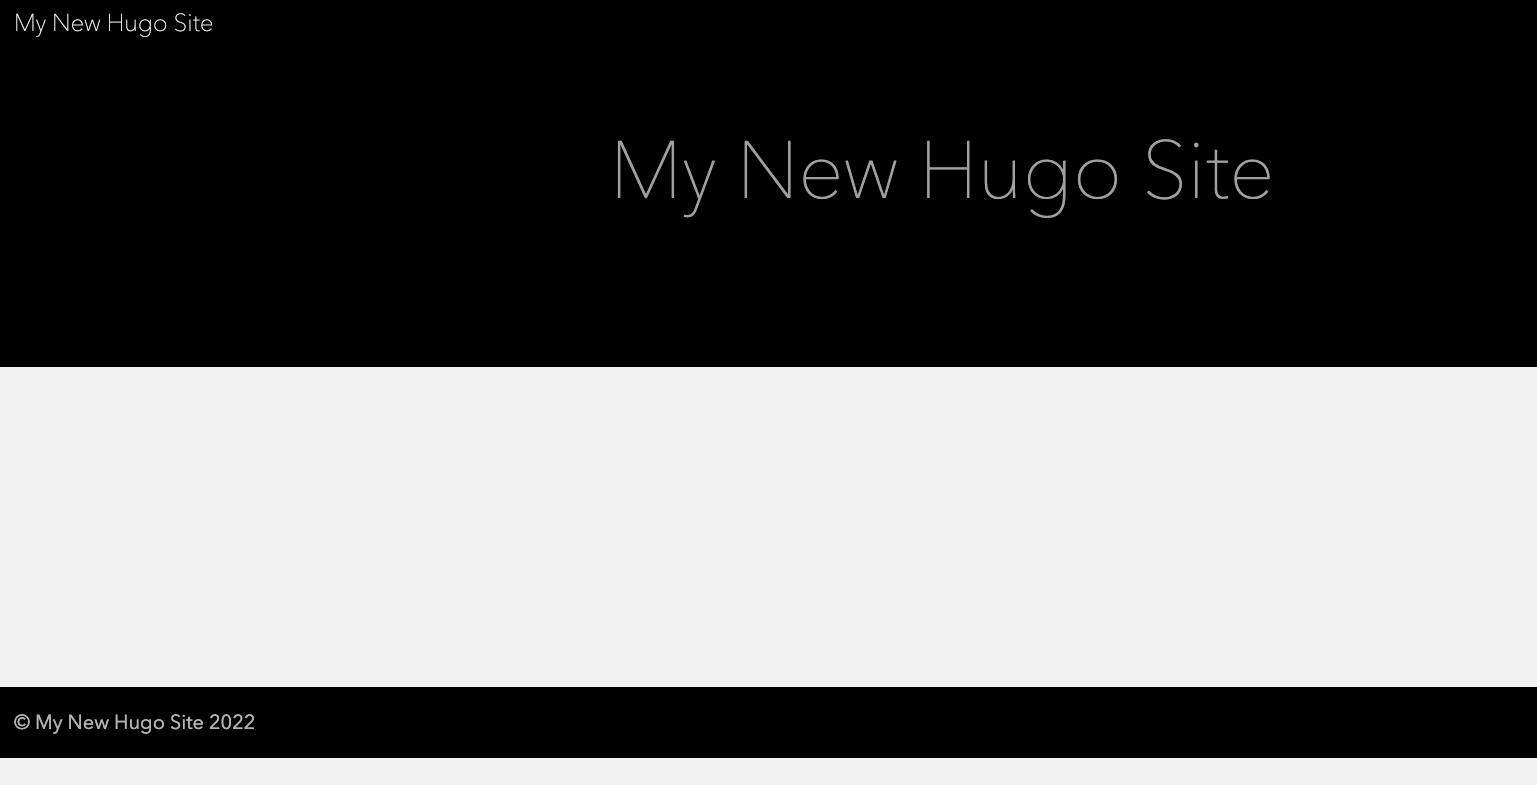
Custom Domain
First, we need to own a domain.
I already do, you’re looking at it. If you don’t, i suggest doing some more research on what you want and if it’s available.
You can buy them directly from AWS in Route53.
I’m going to assume you already have a domain, and a public hosted zone setup in AWS like so:
jeremyritchie.com public hosted zone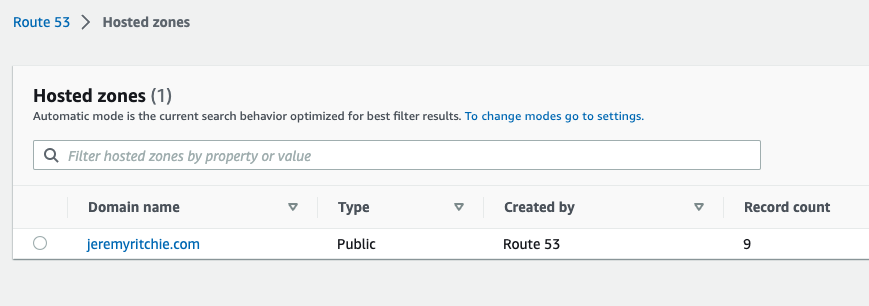
SSL Certificate
Now you’ve got a domain in Route53, we need to register an ACM certificate in the us-east-1 region. This is very important you get the correct region.
aws acm request-certificate --domain-name demo.jeremyritchie.com --validation-method DNS --subject-alternative-names www.demo.jeremyritchie.com --region us-east-1
Return Code:
{
    "CertificateArn": "arn:aws:acm:us-east-1:747340109238:certificate/fde6600b-3t79-ye0c-a4p1-380example"
}
Now let’s add the DNS entry to validate it!
At this point i’m going to let you know there is a button in the console to do this. Like literally, one click. Let’s do that!
Create Records in Route 53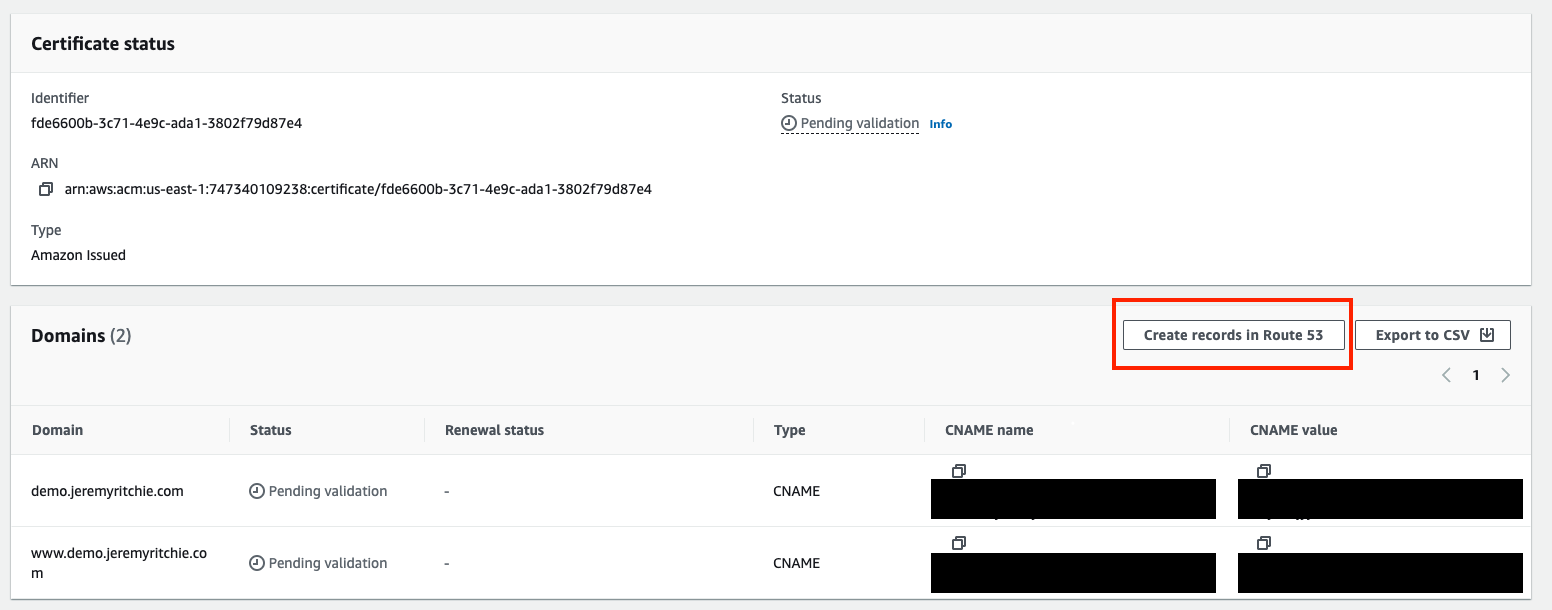
Valid Certificates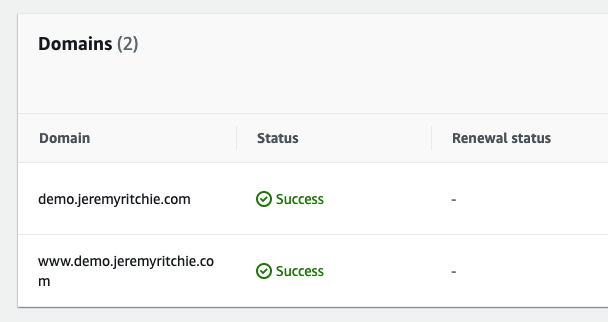
CloudFront Custom Domain
Let’s update CloudFront with the certificate.
Adding ACM and Alternative Domain Names
Finally, we need to add an A record to Route53 to direct demo.jeremyritchie.com to our Cloudfront distribution.
Create A Record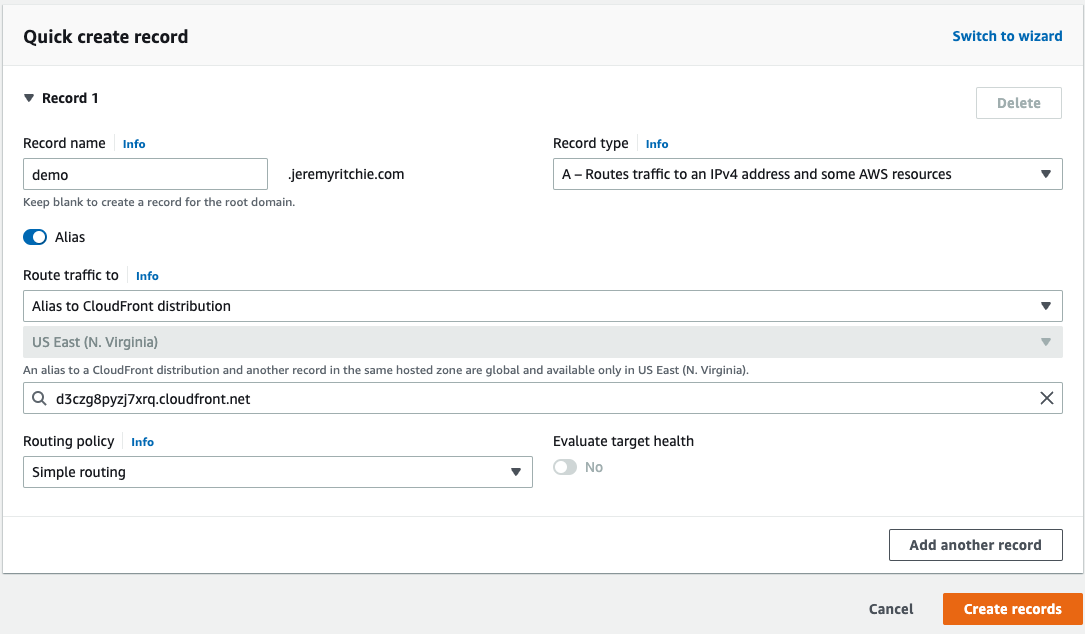
Finally, it looks like demo.jeremyritchie.com is working!
demo.jeremyritchie.com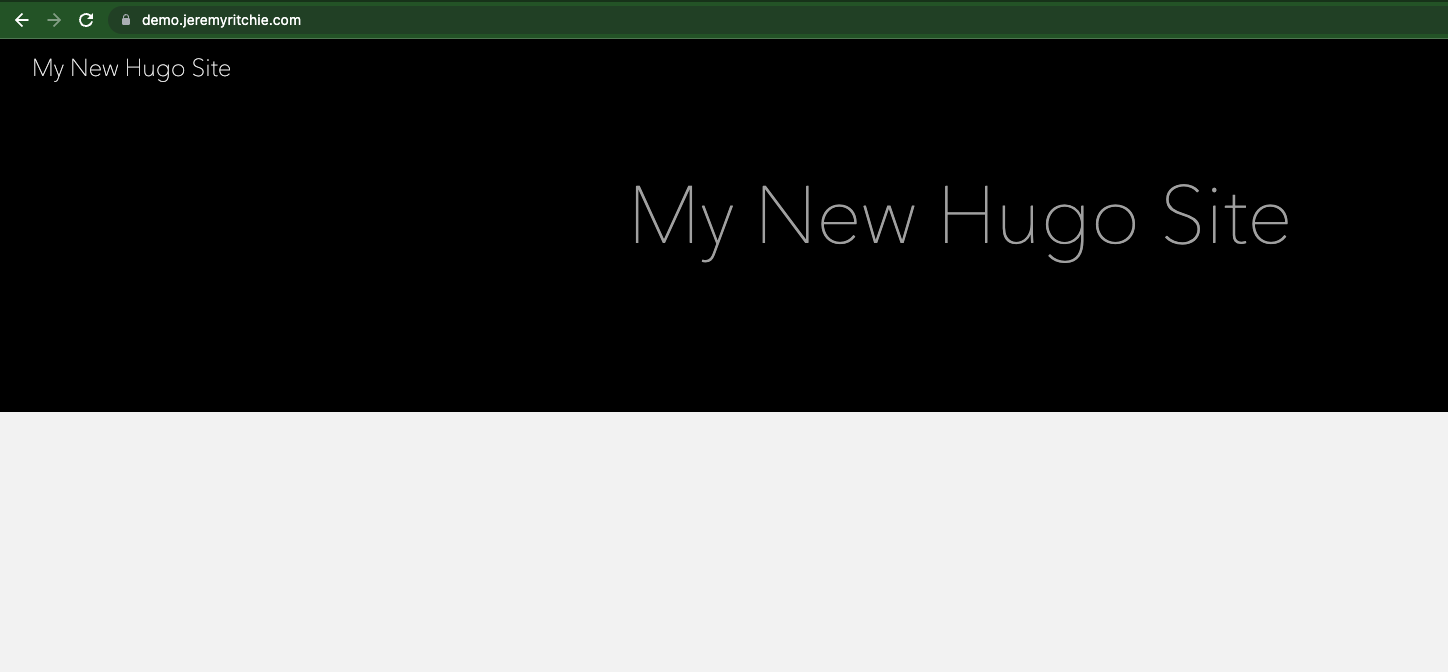
Updating Hugo to Match
We want our Hugo links to navigate to the correct URL right? Let’s make sure that happens.
baseURL = 'https://demo.jeremyritchie.com/'
languageCode = 'en-us'
title = 'My New Hugo Site'
theme = 'ananke'
Conclusion
Amazing! We were able to create a brand new website, host it on S3, and then put a CDN (CloudFront) in front of it for better performance and availability. Then we put a custom domain over the website for that professional look!
Catch me next week for Part 2.
In Part 2 I’ll cover:
- Cloudfront Functions for custom URI redirecting
- Origin Access Control for improved security
All the source code is available on my GitHub.